There will be session that you want to limit only to a specific group of attendees. Typically this would be a discussion of confidential information or programs. While there is no way you can guarantee that the session is completely secure (we cannot stop an attendee videoing the screen or even re-sharing the room using another program), we can add a lot of secure measures to significantly mitigate the risk and to expose any attendees with nefarious intentions.
Resources & References – Below are other blog posts on this site that discuss managing access to your rooms:
How can I manage access to my Connect Rooms?
How can I use ‘Passcode’ to control access to my rooms?
How can I control ‘Guest’ access into my Connect Rooms?
Forcing a Login & Password – The most secure access is to force each attendee to use a login and password, typically their email would be the login, although your Connect account can be globally set to use a unique code such as an employee number.
Note – Using an email guarantees the uniqueness of the login, and if connect registration is used, it also validates the email address by sending the login information to the attendee directly.
Forcing a ‘Passcode’ – A ‘Passcode’ in Connect is an additional level of security in a room that requires a simple word or phrase to gain access to the room. The passcode can be changed from session to session, or even communicated at the last minute before the session and communicated to the audience before accessing the session.
Connect Events Registration – The Connect Events registration tool is included with Connect seminar/webinar licenses and can be added to other licenses if appropriate. This tool allows potential attendees to register for your event, create their own login and password (typically their email address).
Connect Events will send a confirmation to the attendees, thus verifying their email address. The confirmations and reminders include a login link for the event. In this case, the URL for the room itself is masked.
Event owners will have the option to accept or decline attendees based on their email and name. Accepted attendees will automatically be sent the confirmation emails and login link. Declined attendees will be sent a declined message ad, of course, be denied access to the event.
Importing a list of Attendees – As a host, you have the option to import a list (CSV) of potential attendees for your session. This list would include the passwords for the attendees and a good practice is to ‘Prompt all new users to change password after first login’ (see figure 1 below).
Detailed instructions on importing users into Connect can be seen in my blog post ‘How do I import a list of users into Connect Central?‘.
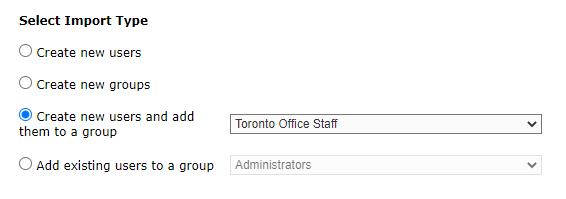
As a best practice, import the list of users into Connect and automatically add them to a group (figure 2). This allows you to easily manage the group (delete them all for example), but more importantly, it is a simple process to add the group to your room as participants and give that group access to your session. Remove or add people to the group and the permissions will be ‘grandfathered’ over to your room.
Figure 1
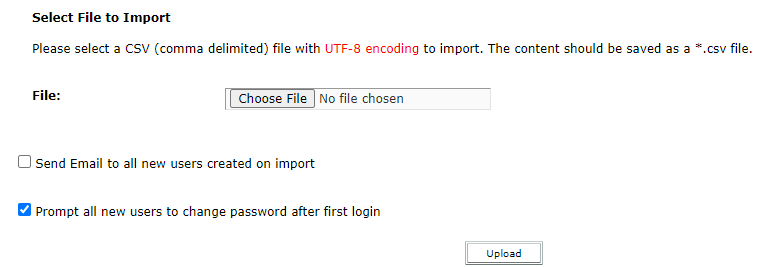
Figure 2
Accessing the Room – When the session starts, there are a couple of scenarios, depending on how you have set up the event.
- Connect Events Registration – these attendees will either click on the link from the Connect Events registration email, enter their name and password and after that, enter the room passcode (if you have enabled this). They will then enter the room.
- Direct Room Entry – if you have chosen to import attendees into your account and send them an email with the details for the room yourself, the attendees will click on the direct room link and as above, enter their name and password and after that, enter the room passcode (if you have enabled this). They will then enter the room.
Managing the Room – As a host, in either login scenario above, you still have the option to lock the room until you are ready, and to place participants ‘on hold’ and see who is waiting to enter the session (see How can I manage access to my Connect Rooms?).
You will also see who is in the room by glancing over the ‘Attendee List Pod’. This will show all of the attendees in the room and as you have disabled guest access, only those with a login and password who have been given rights to enter the room will be shown. You also have a report in the Connect back-end that you can view to see the list of attendees.
Duplicate/Shared Logins – If an attendee shares their login and password information, the login would appear twice in the ‘Attendee List Pod’. As this pod should be held ‘off-stage’ (in the ‘Presenter & Host Only Area’), the user will not be able to change their login name, so the perpetrator who shared their login is exposed to the hosts. The host then has the option to remove the offending logins from the room and (presumably) take specific appropriate action on security and sharing of logins.
What *cannot* be done to maintain security – We cannot stop end-user-attendees from recording the screen and audio using a phone, or even re-sharing it live using another conferencing program. With a little sleuthing, you might be able to track down the offending attendee if they were to interact with the room and, for example, enter their location as requested in a chat pod…the shared recording would show them as ‘You’, so a host looking that the ‘pirate’ recording could potentially identify them.
Ultimately, there is only so much you can do to secure physical or virtual data.