You may need to lock your meeting rooms or seminar rooms to ensure participants cannot join the room early, or indeed to stop late participants disrupting the session that is in progress. You may also want to place participants on ‘hold’ so that you can work with your co-presenters or even remove disruptive or unwanted attendees.
You have a few options that we can outline here.
Room Permissions
When you build the room, you are able to define the permissions for access to the room, you can of course change these permissions at any time, but you will need to have the room ‘closed’ for more than 10 minutes for the permissions to take effect. You cannot change permissions on a live Connect room.
You can see the permission option in Figure 1 below and the options are pretty self-explanatory.
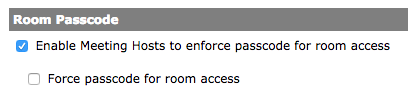
‘Passcode Protection’ – Note that I have also enabled ‘Passcode Protection’, this allows me to set a passcode for the room, rather like a secret password to get into a physical room in spy movies! This is a good additional protection and you can change this easily for each session in the room. The option to enable this feature is a little hidden, but you can find it from ‘Administration’>’Users and Groups’>’Edit Login and Password Policies’ and scroll down to ‘Room Passcode’ (Figure 2).
Figure 1
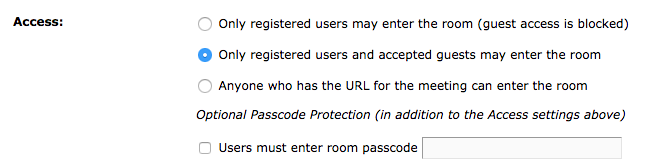
Figure 2
‘Locking’ the Room
Depending on the permissions you have set for your room, you may have given participants the right to enter the room when you are not there, or they may be able to enter while you are preparing for the session. There are some options in your room that will help you manage this professionally.
‘Block Incoming Attendees’ – Under the ‘Meeting’ menu you can go to ‘Manage Access & Entry’ and then ‘Block Incoming Attendees…’ (Figure 3). This option will essentially ‘stop attendees at the door’ until you open it. When you select this option you will see a dialogue that allows you to customize the message the attendees will see (Figure 4). You can change the message and save it for the future and once you click ‘OK’ the room will essentially be locked.
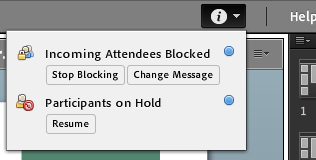
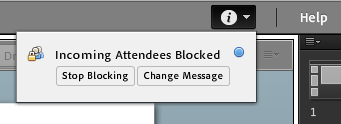
You can see that room is locked by clicking the small ‘i’ to the top-right of the room as shown in Figure 5. From here you can remove the ‘block’ or change the message.
Figure 3
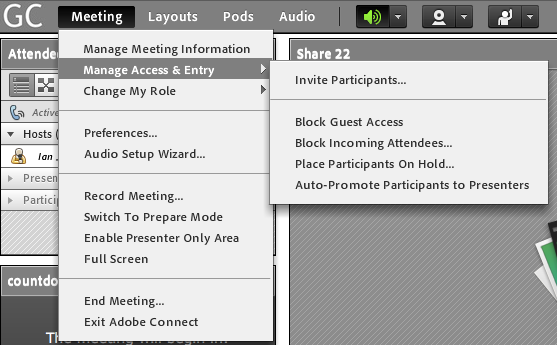
Figure 4
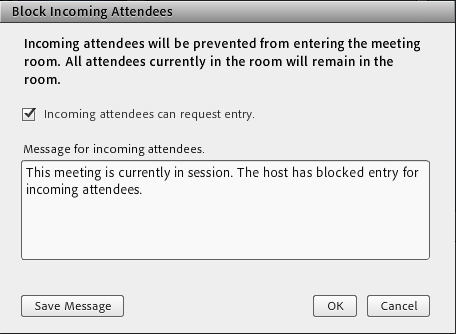
Figure 5
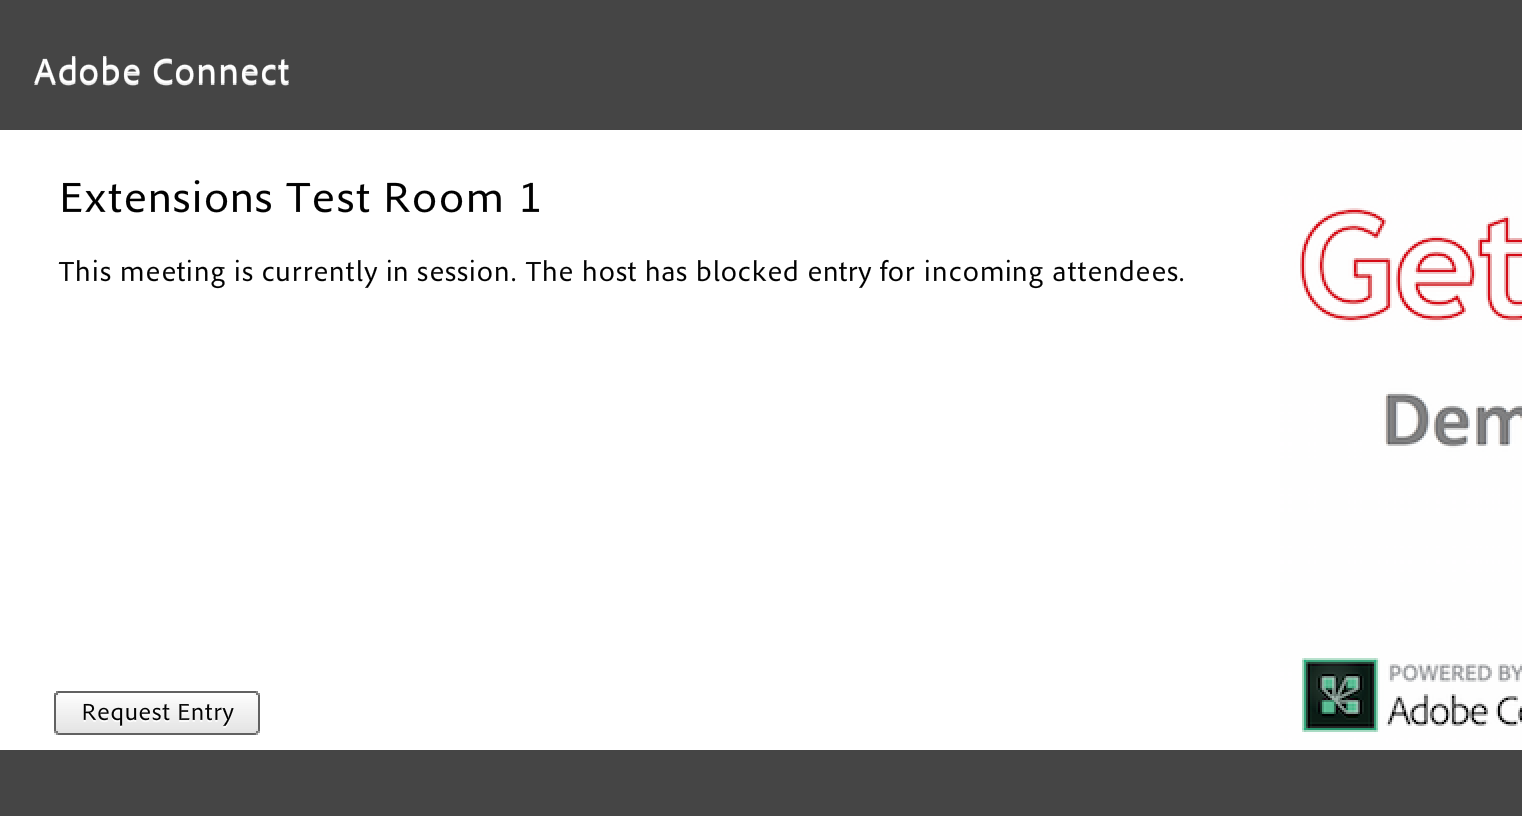
Attendees will see the message you chose as seen in Figure 6 below. In the example below, the host has chosen to allow attendees to ‘request entry’. It is unlikely you will want to allow this as it will be disruptive to your preparation. To remove this option, deselect the check-box in Figure 4 above and the option to request entry will be removed for he participant.
Remember that presenter and hosts with a login and password will still be able to enter the room to prepare with you, we are only blocking participants.
Figure 6
Placing participants on ‘hold’
You will see from Figure 3 above that another option is to ‘Place Participants On Hold’. This functions in a similar manner to the ‘blocking’ option above, but this is a convent way to see who is ‘waiting’. The host can again choose the message they wish to show to the attendees on hold (Figure 7) and the attendee on hold sees the message outside of the room (Figure 8). The room is still available to the presenters and hosts but the participants are not able to see or hear anything in the room.
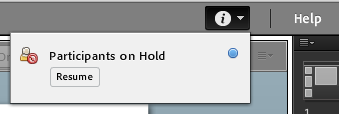
As before, you can see that the ‘hold’ is in place or remove it form the small ‘i’ icon to the top-right of your room (Figure 9).
Figure 7
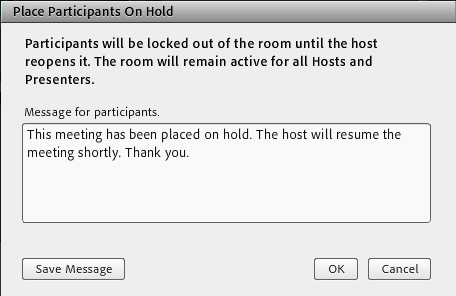
Figure 8
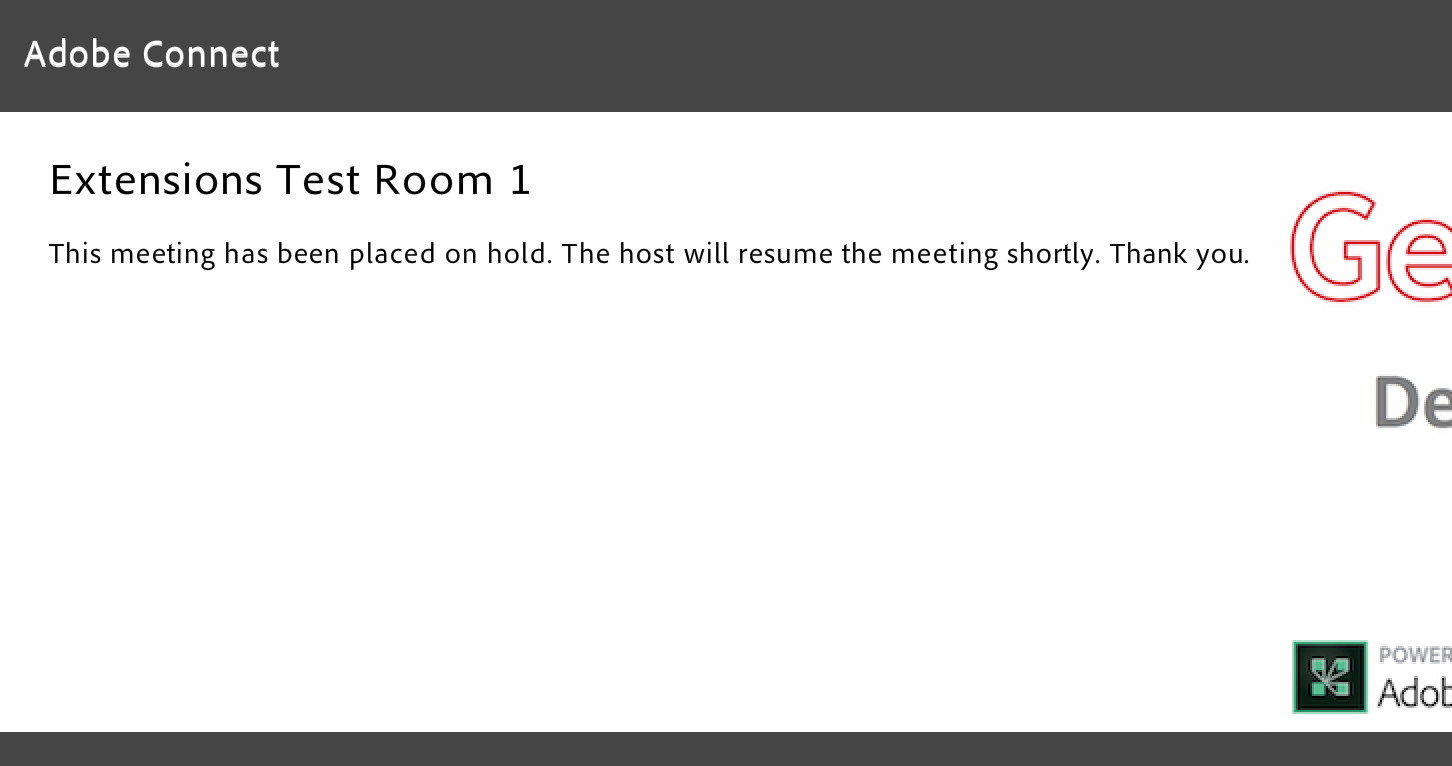
Figure 9
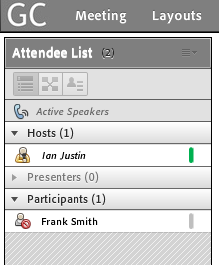
The presenters and hosts in the room can, however, see the ‘holding’ attendees in the ‘Attendee List Pod’ as shown in Figure 10 below. Once the ‘hold’ is removed the attendees will join the room as normal.
You can also use ‘hold’ during a session to prepare privately or to solve an issue with your co-presenters, or during a lunch break if you want privacy.
Figure 10
Removing Attendee(s) from the Room
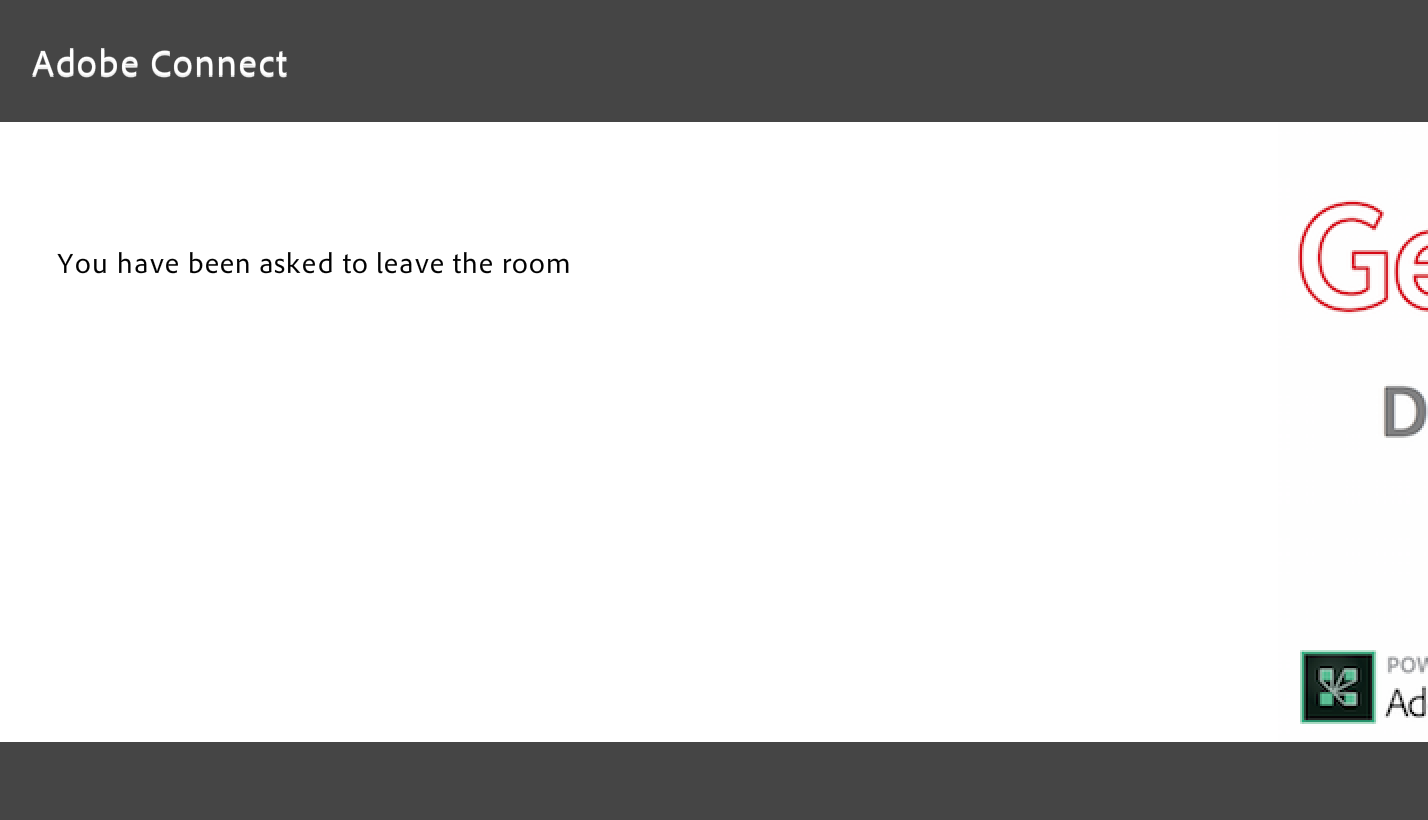
You may want to remove unwanted attendees form the room if they are disruptive or not welcome in your session. To do this you would select (or shift-select multiple) attendees in the ‘Attendee List Pod’ and then select ‘Remove Selected User’ from the ‘Pod Options’ menu (Figure 11), the attendee will be removed from the room and see the rather terse message ‘You have been asked to leave the room’ shown in Figure 12 below (you cannot change this message BTW).
A best practice if you remove attendees might be to immediately add the ‘block’ (outlined above) to the room to stop them rejoining if you have relatively forgiving permissions on the room.
Figure 11
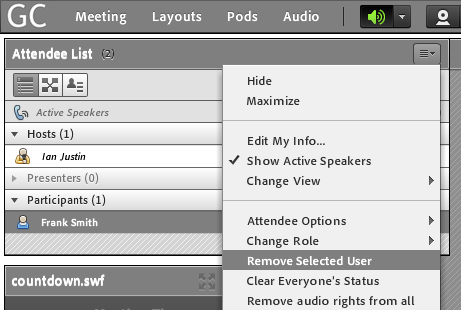
Figure 12
‘Block Guest Access’
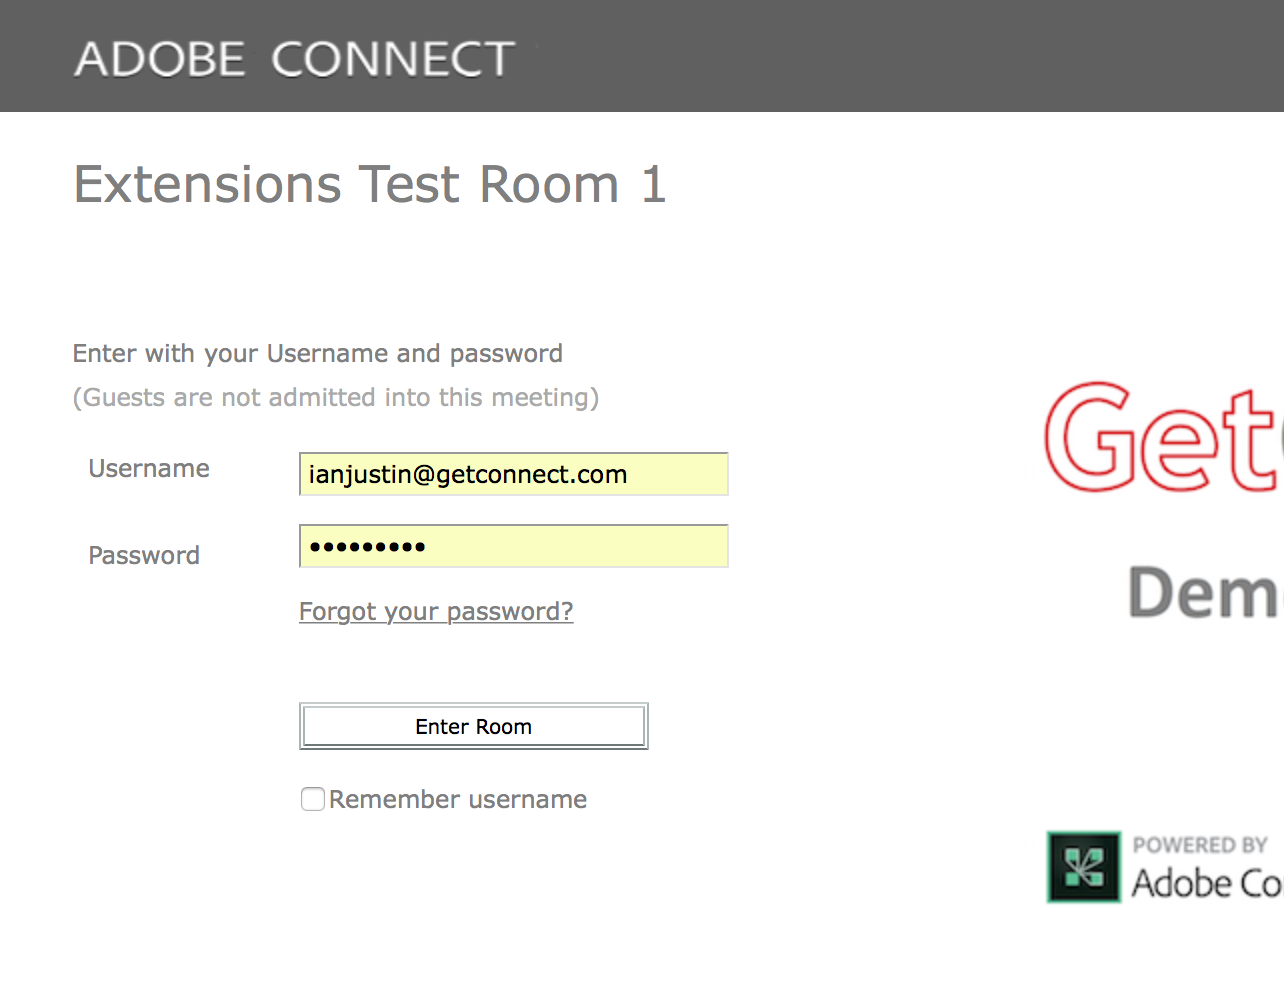
This is a useful option if you want to stop guests from requesting access during your session, but allow registered users to request access. When this option is selected (Figure 13), it removes the ‘Enter as a Guest’ field from the login page (Figure 14). Again, this is an option you might use during a session to minimize disruption or to limit access to registered users.
Figure 13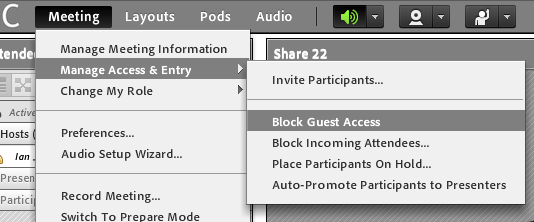
Figure 14
‘End Meeting…’
When your session is over, a clean way to end the session and remove all attendees is to select ‘End Meeting…’ (Figure 15).
The dialogue here (Figure 16) gives you the option to customize the message to the attendees when they are all removed from the room and it also allows you to enter a URL that will be opened on every attendee browser automatically. You would use this to open a post-event survey from Survey Monkey (for example) or maybe to send the attendees to a product launch page.
As before, the attendees (and in this case the presenters and hosts) will see a message as shown in Figure 17 below.
Note that it is a good best practice to end meetings in this manner, particularly larger sessions.
Figure 15
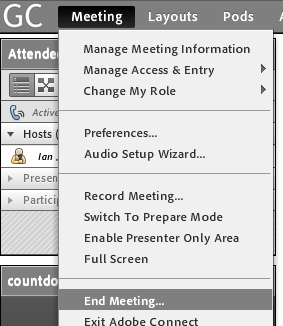
Figure 16
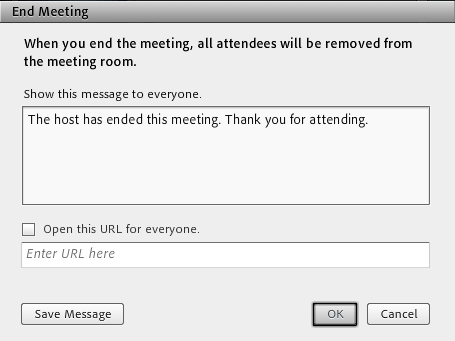
Figure 17

Combinations and Best Practices
Be aware that you can use these tools in combination to both enhance the professionalism of the experience and to lower your stress level as a host significantly.
For example, use ‘End Meeting’ at the end of prior sessions to ensure the room is clear and that attendees have a clean experience on the exit from the room.
Now go into the room yourself and select both ‘Block Incoming Attendees…’ and ‘Place Participants On Hold…’ (Figure 18). If any attendees are early for your next session they will see a professional message, you probably want to customize it to include the date, time and time zone of the next session for anyone who has the timing wrong.
At the time of the session, select ‘Stop Blocking’ (Figure 19) and the attendees will immediately be placed on ‘hold’. Now you can see who is ‘waiting’ and continue your preparation with co-presenters and again the attendees will see a customized message.
When you start the session proper, you can have the attendees begin in a lobby payout with music and introductory slides etc.
Figure 18
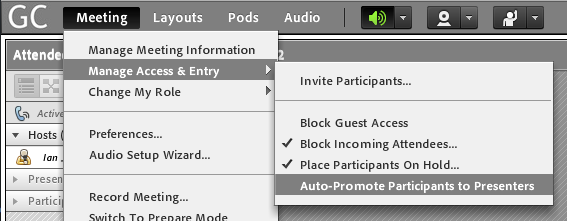
Figure 19