Scenario – A VoIP only Meeting in Connect and allowing Participants to use microphones for questions.
Note – As you are working through the notes below, keep an eye on the messages from your browser to ensure you give permission to use your microphone and devices. If you refuse access you may compromise your chance of success with audio and video.
Note – You do not have to follow the practices and preparation notes below, but you increase the chance of issues in the session if you do not prepare diligently. I have opened up a completely new laptop, entered a room and started my sessions without issue, but that does not mean this will always be the case.
Pre-Meeting Preparation
Set your microphone and speakers *before* entering the Meeting Room if possible. You can change these from within your Connect Meeting Room, but depending on your computer this may cause issues. As a best practice, I set my devices before entering the Connect room.
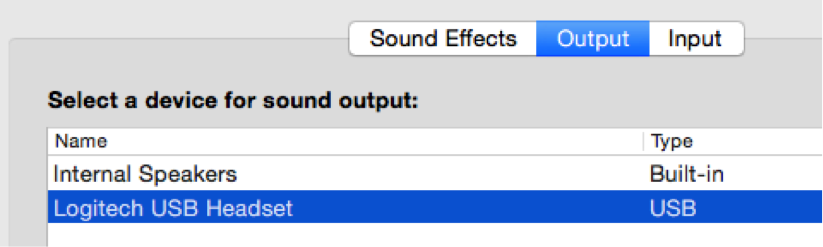
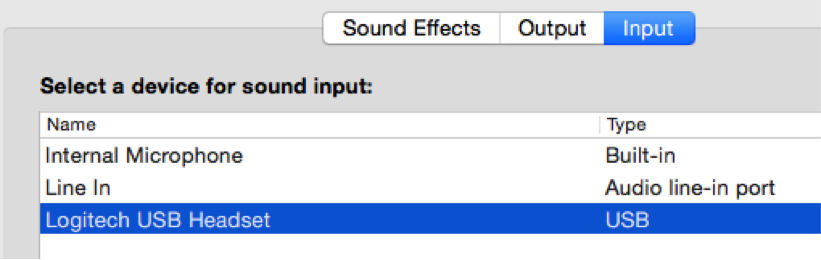
Mac – ‘System Preferences’>’Sound’ then select the correct device for both ‘Input’ and ‘Output’
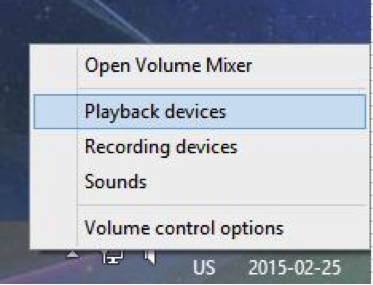
Windows PC – Right-click on the speaker icon (bottom-right of your screen) and select ‘Playback Devices’.
On the ‘Playback’ tab select the speaker/headphone/output device you want to use and then ‘Set as Default’
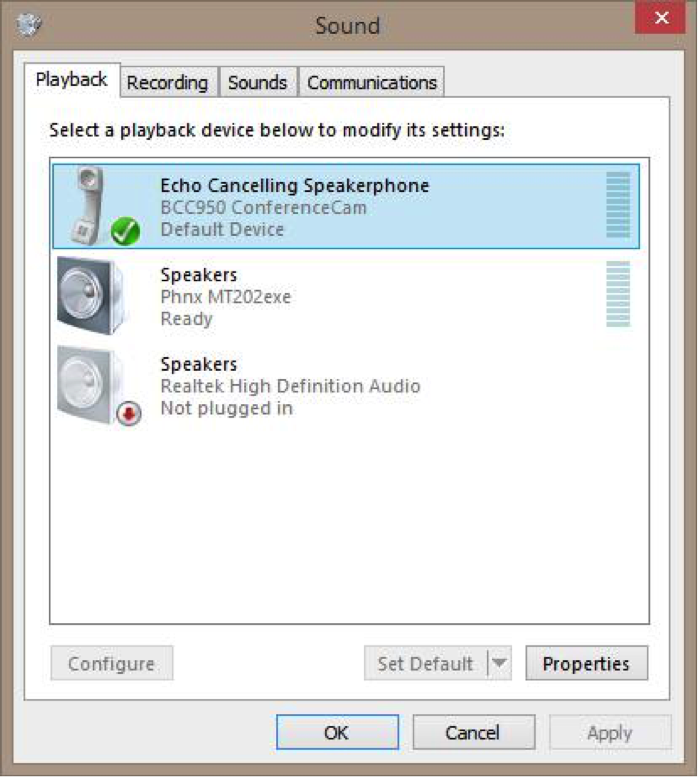
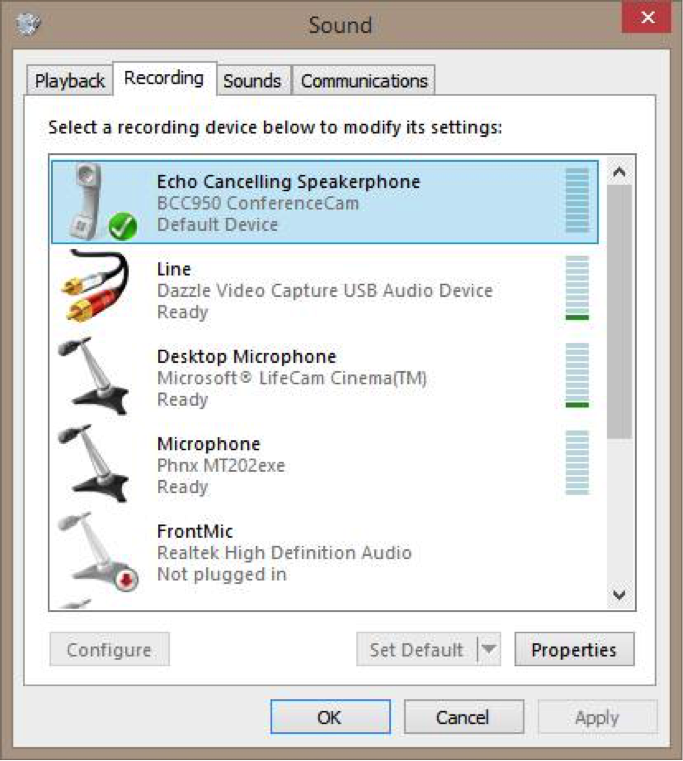
Do the same for the ‘Recording Device’ to set your microphone/input
In-Meeting Room Preparation
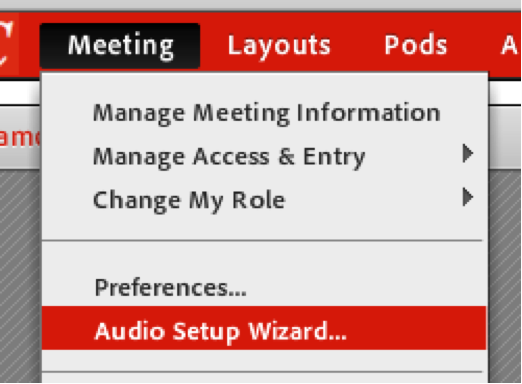
Run the Audio Setup Wizard (Participant will see less options, this is the Host view)
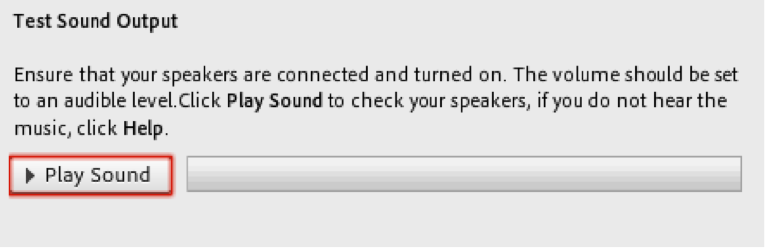
Play a test sound, ensure the music is coming through the speaker or headphone you desire. If the sound is not coming through the right output device, you can try staying in the Meeting Room and changing the device using the instructions above under ‘Pre-Meeting Preparation’. Personally, I would leave the room, change the output device and then join the room again as some devices are only recognized and initiated when an application is opened.
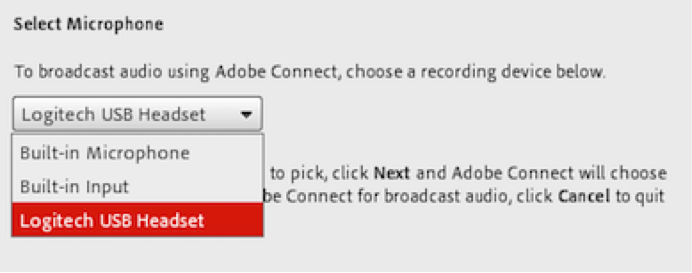
On the next screen , select the microphone you wish to use in the session. Note that this is something you can change in-meeting later if desired.
Now you can test your microphone is recording as expected in Connect. On the next screen click the ‘Record’ button and speak a test sentence, click ‘stop’ when you are done. The bar will move to show that you are speaking.
Click ‘Play Recording’ to hear your test through the device you chose in the earlier screen.

If the bar does not move then Connect cannot use your microphone right now, this might be for a number of reasons (it is broken, the driver is not working, you have it muted your microphone, the browser has not been given permission to use the microphone, it is being used by another application etc.). Select another microphone or leave the room and try to get it working before entering the room again. It is very unlikely you can fix this by repeating the process i the Connect Meeting Room.
On the next screen click ‘Test Silence’ and wait until the testis over. This will balance the noise in the room with your microphone volume etc.
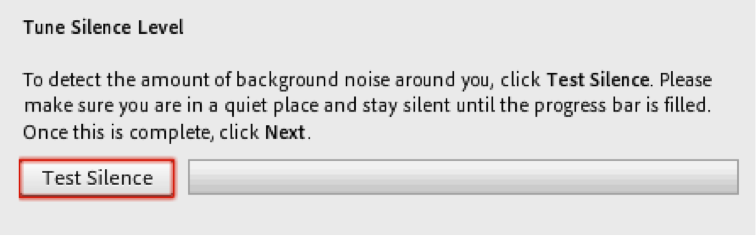
You are done, click ‘Finish’.
Note – The above test took me *28 seconds* to complete in real-time, I timed myself. This is time well spent and even though I am considered to be an expert with Connect, I still carry out this test before every session in case something has changed or has stopped working since the last test.
Starting Your Audio Conference (VoIP Only)
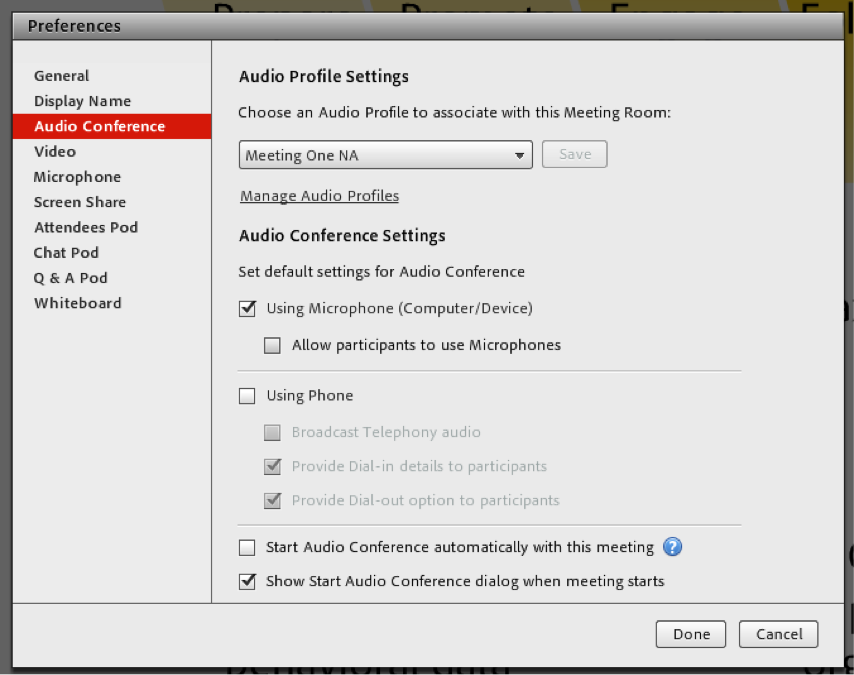
First you need to ensure that your ‘Audio Conference settings’ are correct (you can change this on-the-fly, but it is good to have these right initially. Go to ‘Audio’>’Audio Conference Settings’.

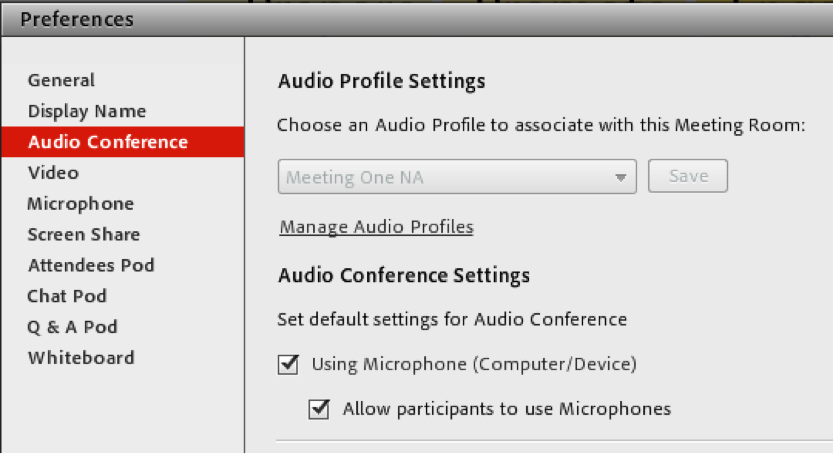
For this scenario we will set the conference to ‘Using Microphone (Computer/Device)’.
I will *not* check ‘Allow participants to use microphones’ as I do not want everyone to have microphone rights by default. If I check this then anyone can use the microphone at any time and that can be incredibly distracting, particularly in a large group. Also remember that is people are not speaking, but their microphone is on then they are sending ‘silence’, or background noise and this can be distracting and of course it takes bandwidth.
We are not using the phone for this session so we will no check ‘Using Phone’, we do not need to check ‘Broadcast telephony audio’ as we are using the VoIP only.
The typical configuration of the ‘Audio Conference Settings’ pane will be as below. This is persistent so this will remain next time you enter this room.
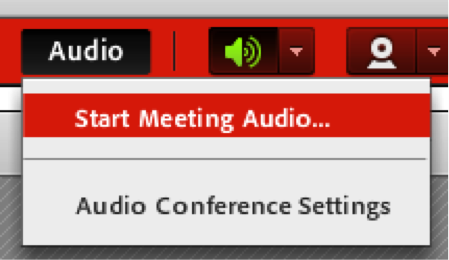
When you are ready to begin, click ‘Audio’>’Start Meeting Audio’ and the VoIP/microphones will be available to Hosts and Presenters (this is not available to Participants as we did not select ‘Allow participants to use microphones’.
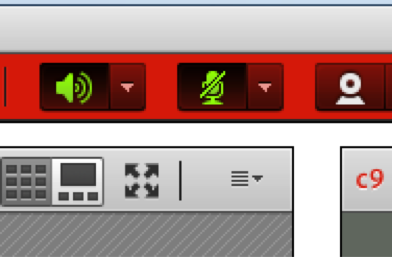
As a Presenter or Host, you can start your microphone from the ‘Connect My Audio’ option beside the microphone icon; you can also just click on the microphone icon. The icon will change to green when it is active and it will have animated lines to indicate you are speaking/making noise.
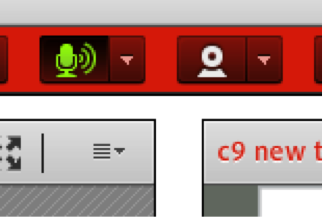
If you click on the icon again you will mute your microphone and there will be a line through the icon.
You are now broadcasting to the audience and they will hear you through their speakers or headphones. All of your presenters can connect their microphones in this way and be ‘live’. I would suggest as a best practice that when anyone is not speaking they click their microphone to mute it.
Letting Participants ask questions using their microphone
To let a participant ask a question, you need to give them the rights to use their microphone. If you want all of the Participants to have the right to use their microphone all of the time then when the time comes, open the ‘Audio Conference Settings’ pane and select ‘Allow participants to use microphones’. This means that all of the participants will be able to connect their microphone as noted in the section above (clicking on the microphone icon).
This allows for easier interaction, but it does leave you open to background noise as people are typically less comfortable or less aware of how to mute a microphone (at least not as comfortable with muting as they might be with a phone line).
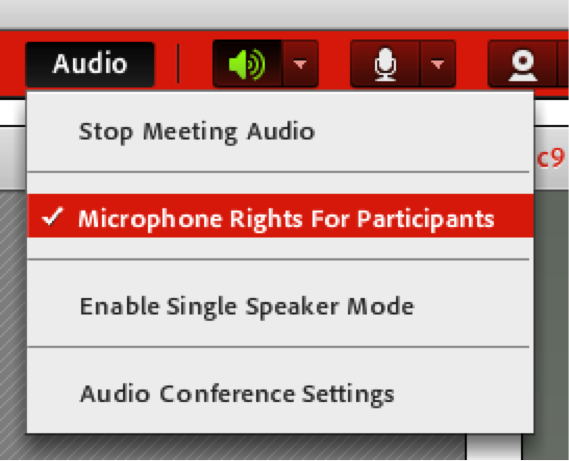
Note that you can also allow everyone to use their microphones directly from the menu ‘Audio’>’microphone Rights for Participants’. This is a quick ay to toggle these rights on and off during the session and a good best practice.
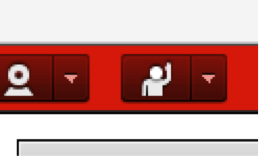
When you have selected the option to ‘Allow participants to use microphones’, each participant will have a microphone icon beside their name in the Attendee List Pod and they can enable their microphone by clicking in the microphone icon at the top of the meeting room.
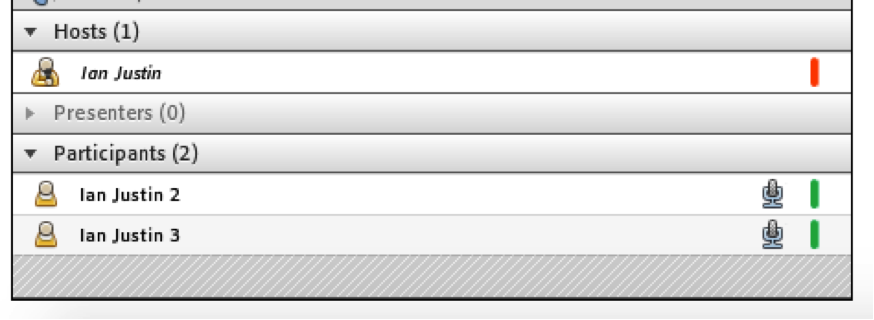
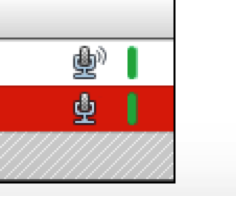
When the microphone is enabled and the Participant is making noise or speaking, you will see the lines emanating from the microphone in the Attendee List Pod.
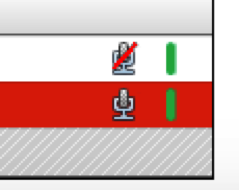
If a Participant mutes their microphone by clicking on the microphone icon at the top of the Connect meeting, you will see a red line through the microphone.
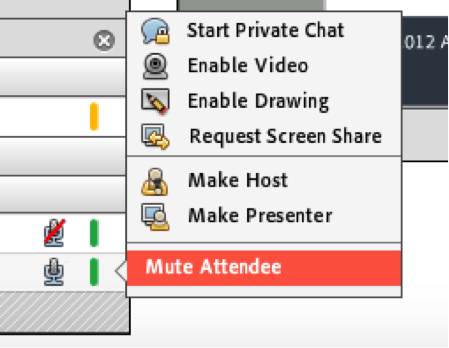
You can choose to mute a Participant if you mouse-over their name in the Attendee List Pod and selecting ‘Mute Attendee’ (you can mute multiple attendees by shift-selecting the names in the Attendee List Pod and then ‘Mute Attendees’ or ‘Unmute Attendees’).
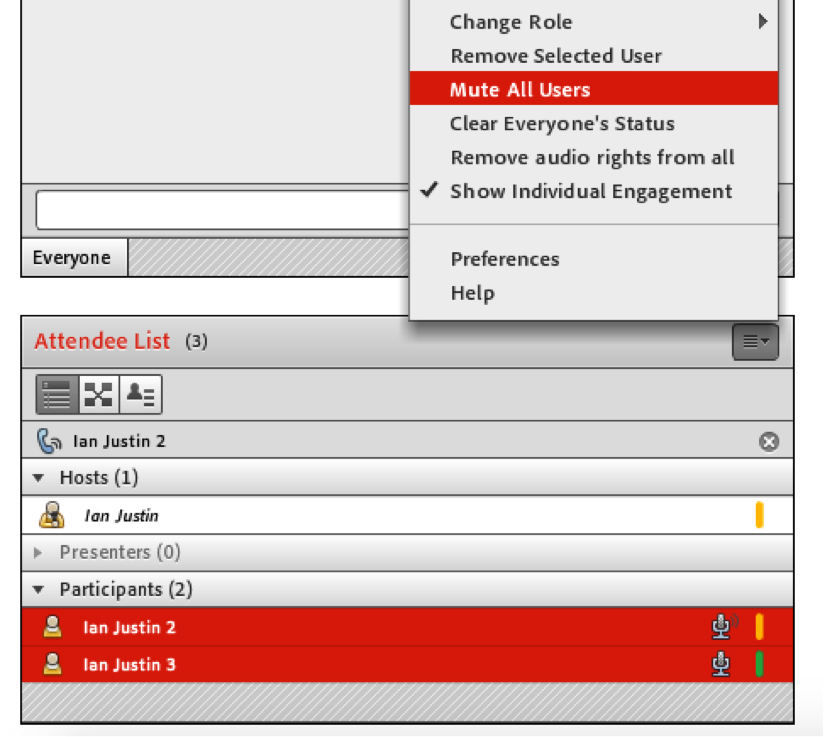
You may also mute all Participants from the ‘Attendee List Pod’>’Pod Options’ menu and by selecting ‘Mute All Users’.
Note – The Participants can still unmute themselves individually if they desire, but this can help if things are ‘noisy’ in the room.
If you want to be more selective of access to the microphone for Participants then you would not select ‘Allow participants to use microphones’ in the ‘Audio Conference Settings’ and then you can either selectively enable the microphone for one or more participants if you mouse-over their name(s) as noted above.
If you want more control over access, particularly in a Q&A scenario then you can use the ‘Raise Hand’ option to aid in selectively granting access to microphones. In this case would again not select ‘Allow participants to use microphones’ in the ‘Audio Conference Settings’ and you would instruct Participants to use the ‘Raise Hand’ icon when they have a question.
When a Participant clicks the ‘Raise Hand’ icon you will see a notification as a Host and if you select the check-mark you will automatically enable microphone rights for that Participant.
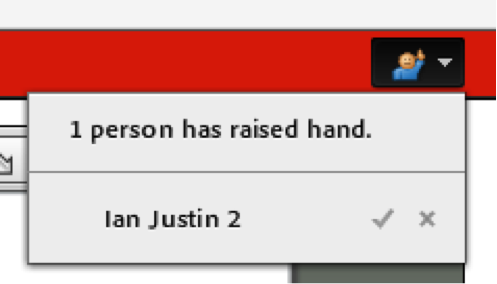
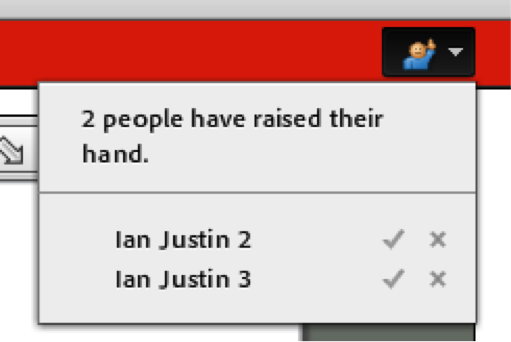
The Participant will still need to click on the microphone icon to speak (this is a security measure) but this is a clean process for managing questions in order. If more than one person raises their hand then you can give microphone rights to them in order or to all of them at once.
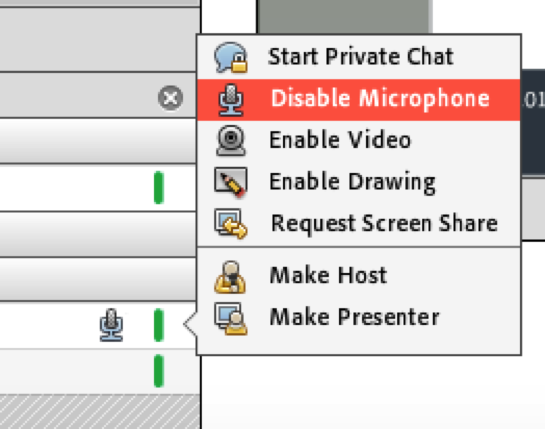
When you want to take the microphone rights away you mouse-over the name and select ‘Disable Microphone’.
Breakout Rooms and VoIP
Note – When using Breakout Rooms, the audio will split into sub-conferences. You should be aware that you can use VoIP for Breakout Rooms, or you can use the integrated phone conferencing (Meeting One for example), but you cannot use both at the same time and you will be asked to choose which option you want to use for audio.
Other Resources
What are the best practices for Connect Breakout Rooms? – here
Best Practices for VoIP on your PC and Mobile Devices – here
Guide to using the voice options in Connect Meetings – here
How Does Audio in Breakout Rooms split into Sub-Conferences? – here